
Inbox Preview is a new, fourth option in the Email Builder's Preview screen, sitting right next to Desktop, Tablet and Mobile.
You pick the email clients you care about (common clients are pre-selected for you), run the preview, and get a real screenshot from each client, so you can catch broken layouts, dark-mode issues and clipping before your contacts do.
Table of Contents1What Is Email Inbox Preview?2How to Access Email Inbox Preview3Reviewing Your Preview Results4Frequently Asked QuestionsVideo WalkthroughWatch a quick walkthrough of running an Inbox Preview1What Is Email Inbox Preview?
The standard Desktop, Tablet and Mobile previews show how your email looks inside the builder. Inbox Preview goes a step further: it renders your email inside real email clients and returns an actual screenshot from each one, along with how the email appears in the inbox list.
It helps you spot three of the most common rendering problems:
Outlook layout breaks — spot stacked columns and broken spacing.Dark mode — see where colors invert or logos vanish.Gmail clipping — know if the message gets cut off.Good to KnowEach client you preview uses one preview from your balance. The remaining balance is always shown at the top of the Email clients panel (for example, 371 previews left).
Setup GuideRun your first Inbox PreviewFive quick steps from a new campaign to real inbox screenshots.2How to Access Email Inbox Preview
Step 1Create a new email campaignStart a new email campaign from your Email Marketing section.
Step 2Build your email in the Email BuilderDesign your email as usual — add text, buttons, images, custom values and any other elements you need.
Step 3Click Inbox previewOnce the email is ready, click Inbox preview (marked New) in the top toolbar, next to the Desktop and Mobile preview icons.
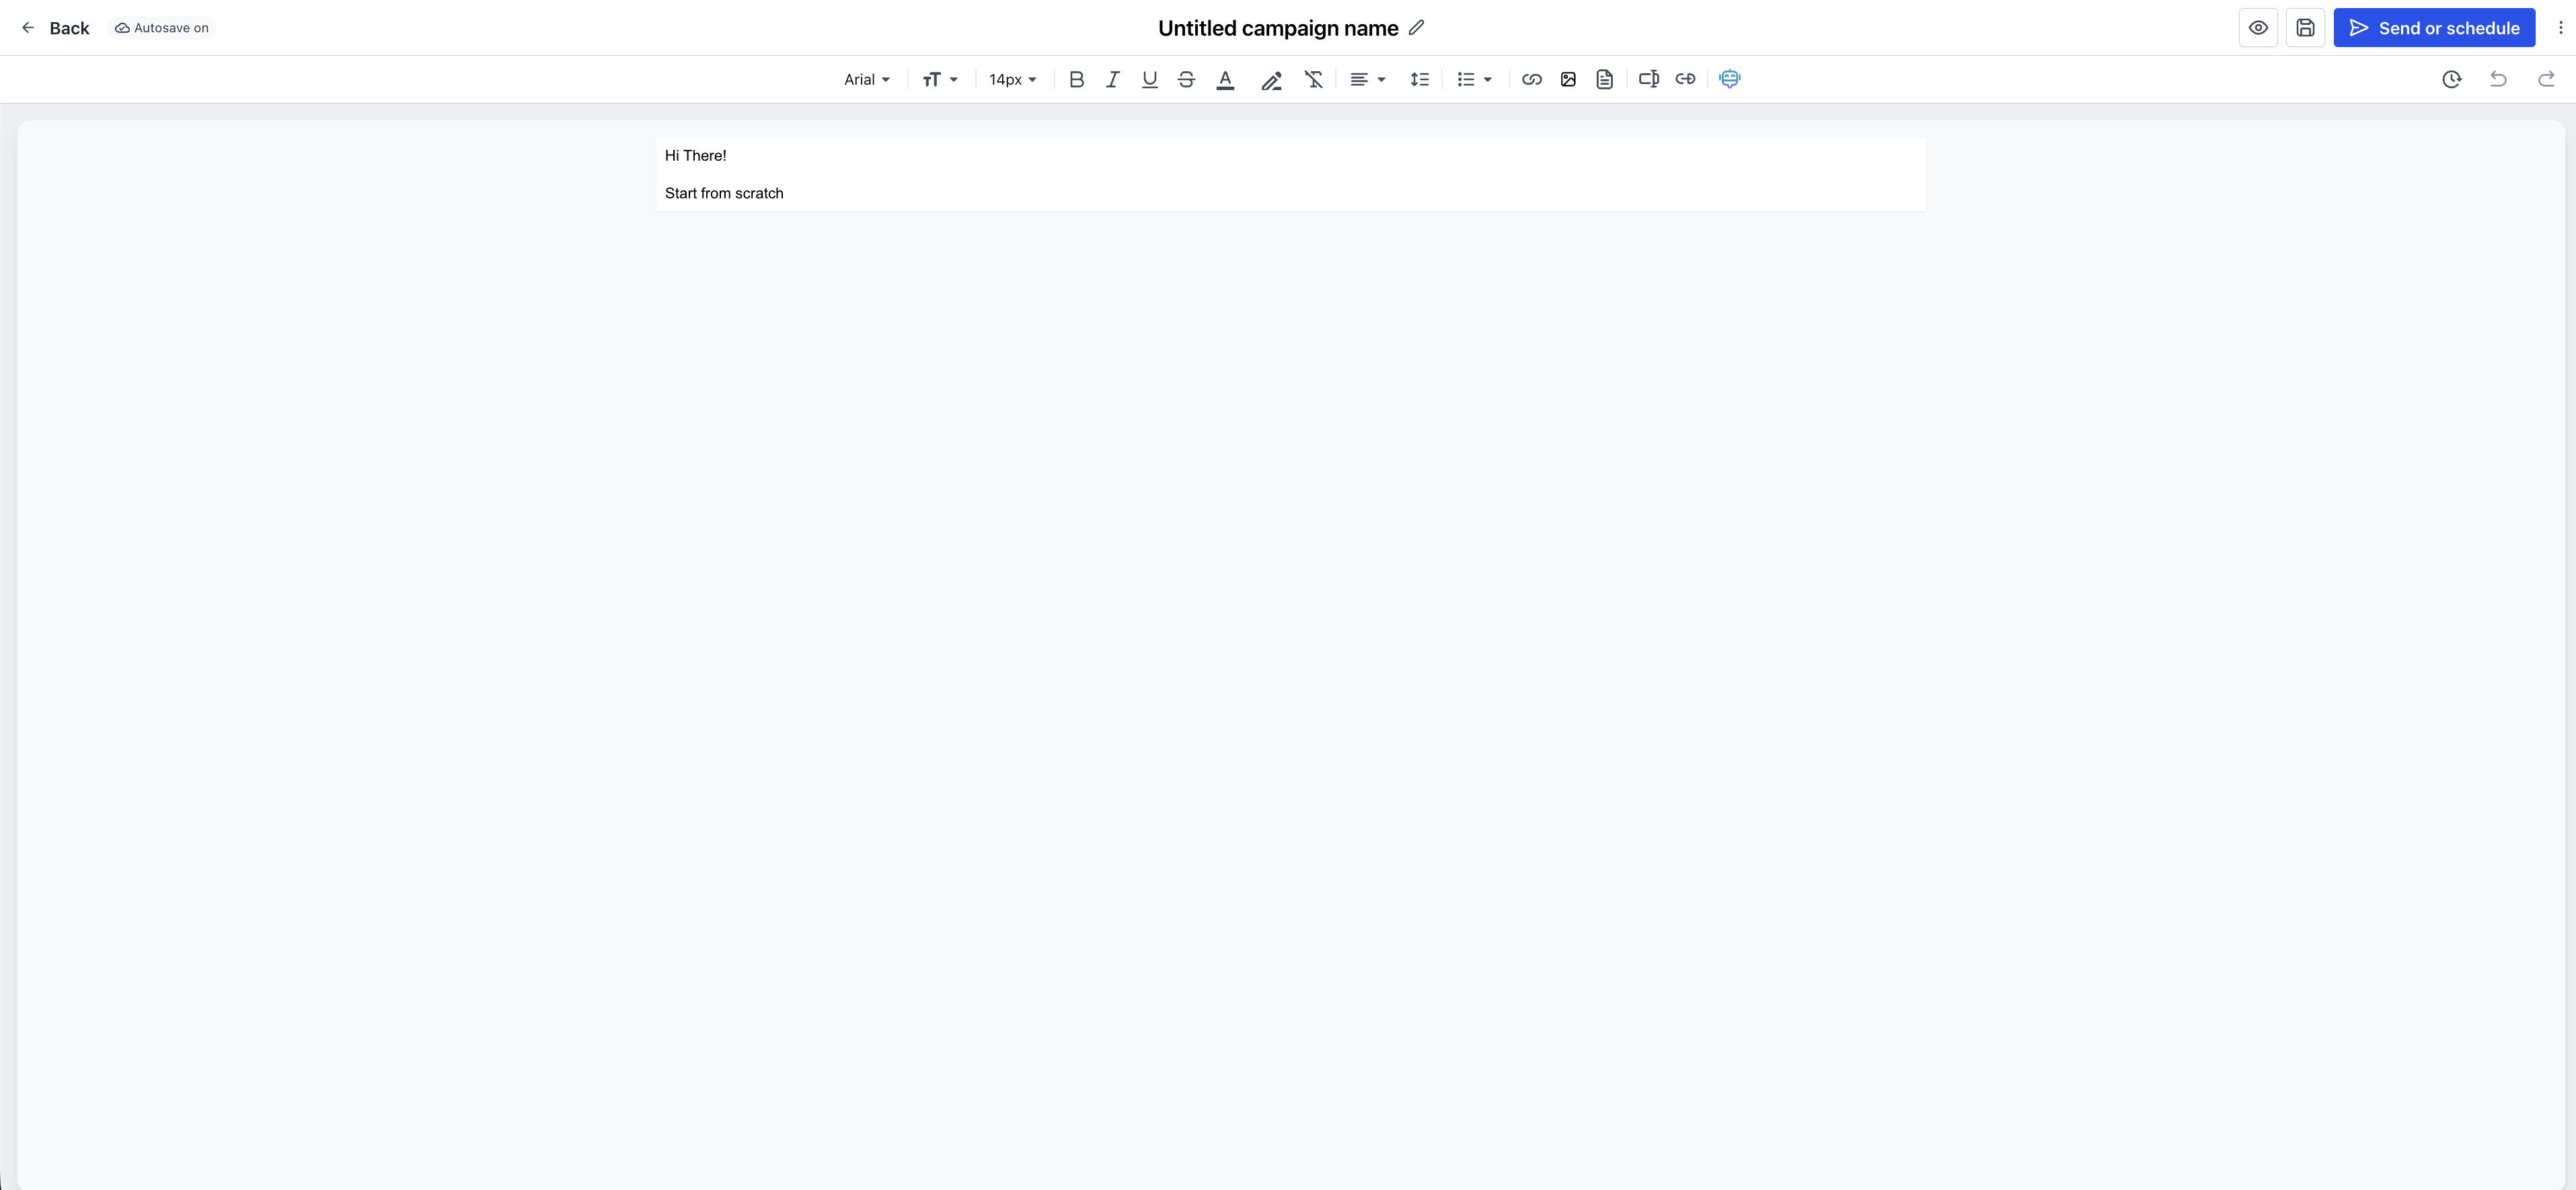 The Inbox preview button in the Email Builder toolbar.Step 4Choose (and pin) your email clients
The Email clients panel opens on the right with a set of popular clients already selected by default, led by Gmail. From here you can:
- Untick any client you don't need, or click Clear all to start fresh.
- Click + Add email clients to search by client, version or browser, and filter by device and mode (light / dark).
- Click the pin icon next to a client to keep your favourite inboxes selected for future previews.
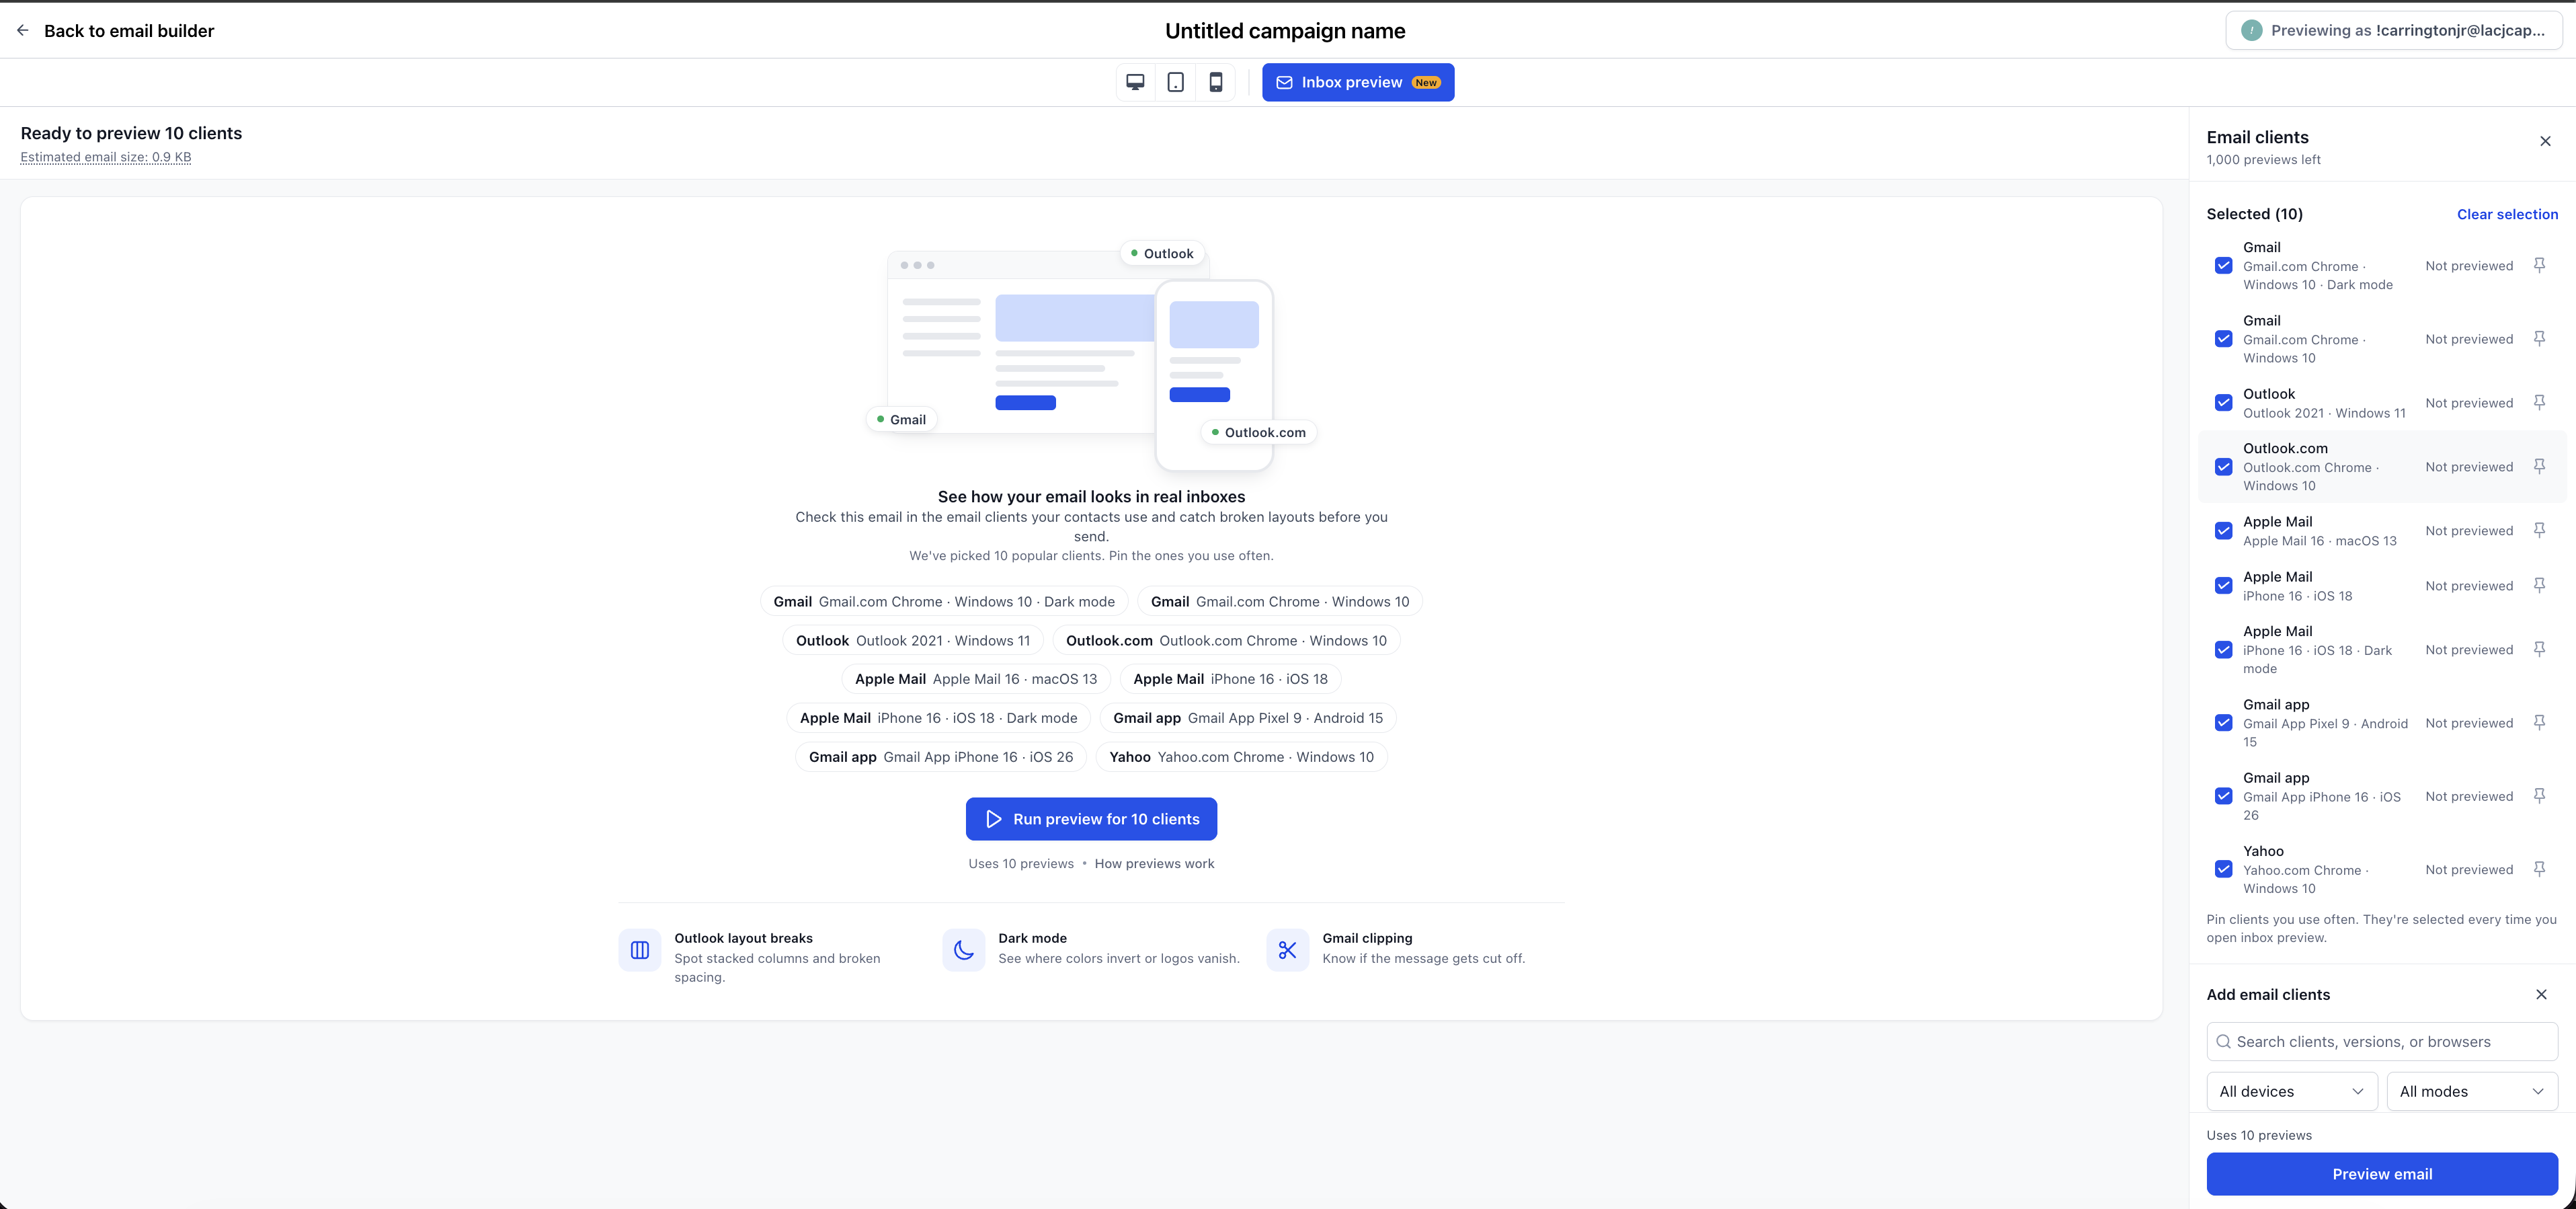 Selected clients are listed on the right, with a pin icon to save favourites.Step 5Click Preview
Click Preview in the panel (or Run preview for N clients in the center). The button shows how many previews the run will use before you confirm.
NoteEvery selected client counts as one preview. Running 9 clients uses 9 previews, so keep your selection to the inboxes your contacts actually use.
3Reviewing Your Preview Results
When the run finishes, the page header changes to Previewed in N clients with the date, time and estimated email size. Each client appears as a card showing a real screenshot of your email inside that inbox.
- Each client's status moves from Not previewed to Ready once its screenshot is available.
- Click the expand icon on any card to view the screenshot in full size.
- Compare light and dark mode versions side by side to check colors, logos and button contrast.
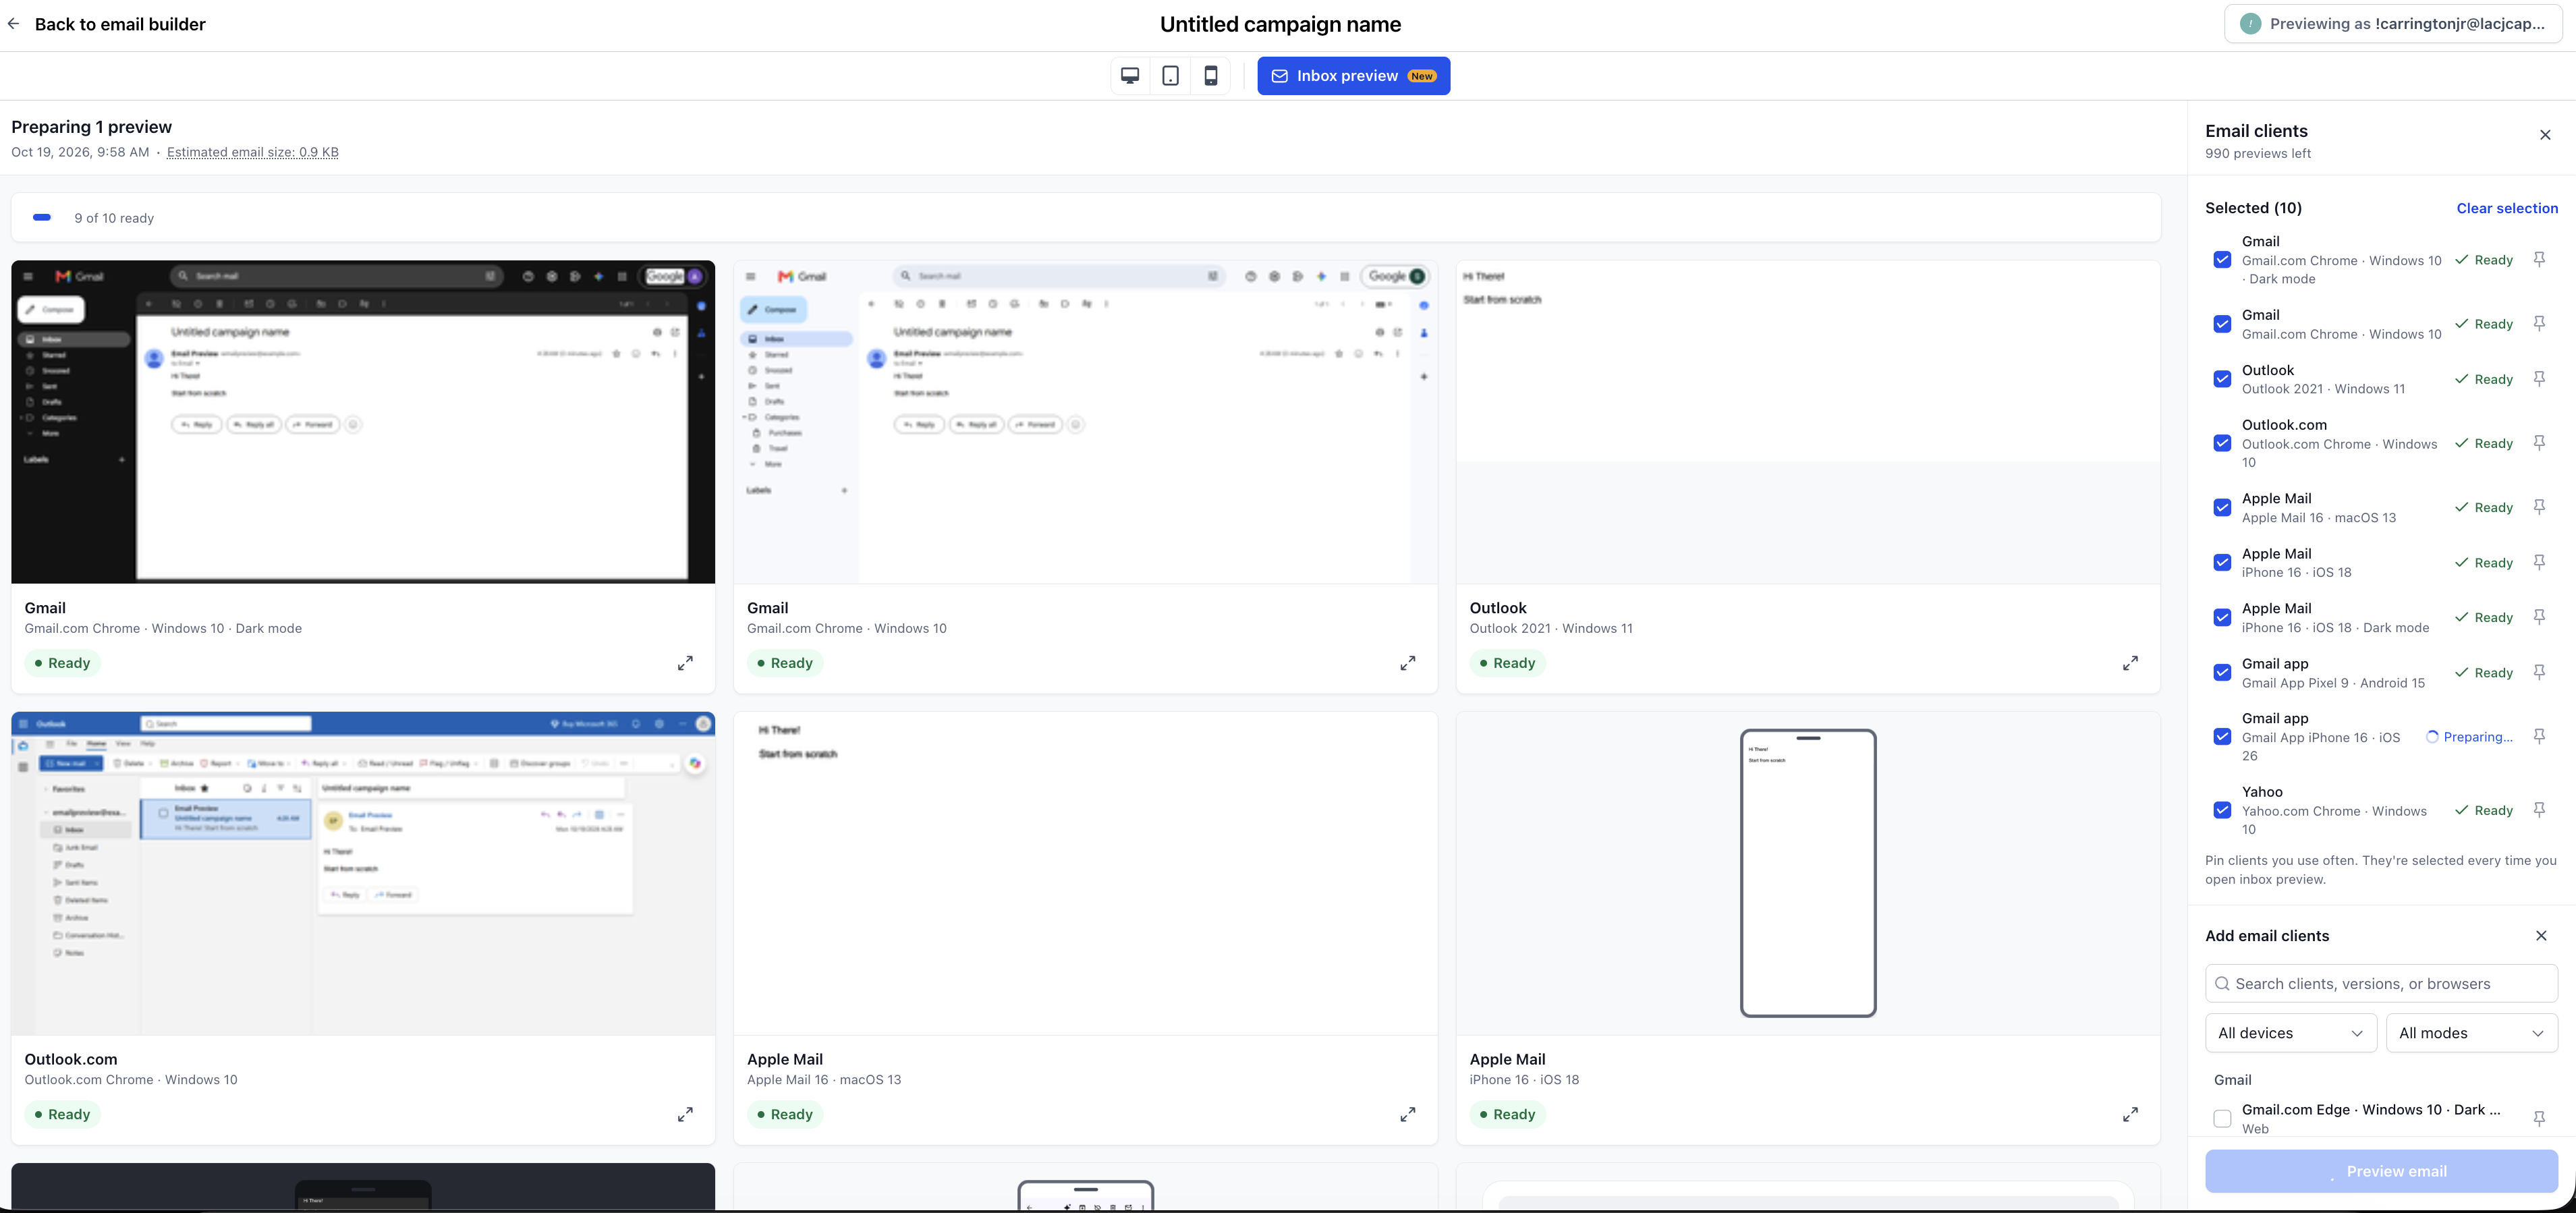 Preview results across Gmail, Outlook and Apple Mail, each marked Ready.You're All Set
Found something off? Click Back to email builder, fix it, and run the preview again for just the affected clients.
4